Step-by-Step Macramé Plant Hanger DIY for Low Light Plants
Learn how to create a beautiful macramé plant hanger for low-light plants with this easy DIY guide! Perfect for beginners, this step-by-step tutorial includes materials, knots, and care tips.
Introduction
Did you know that low-light plants like pothos and snake plants thrive in hanging planters? Not only do they purify the air, but they also add a touch of greenery to any space—even those with minimal sunlight! If you’re looking for a stylish way to display your plants, a handmade macramé hanger is the perfect solution. In this guide, we’ll walk you through every step—from choosing the right materials to mastering essential knots—so you can craft a stunning macramé plant hanger that complements your low-light greenery. Let’s get knotting!
Materials You’ll Need for Your Macramé Plant Hanger
Before diving into your macramé project, gather all the necessary supplies. Here’s what you’ll need:
-
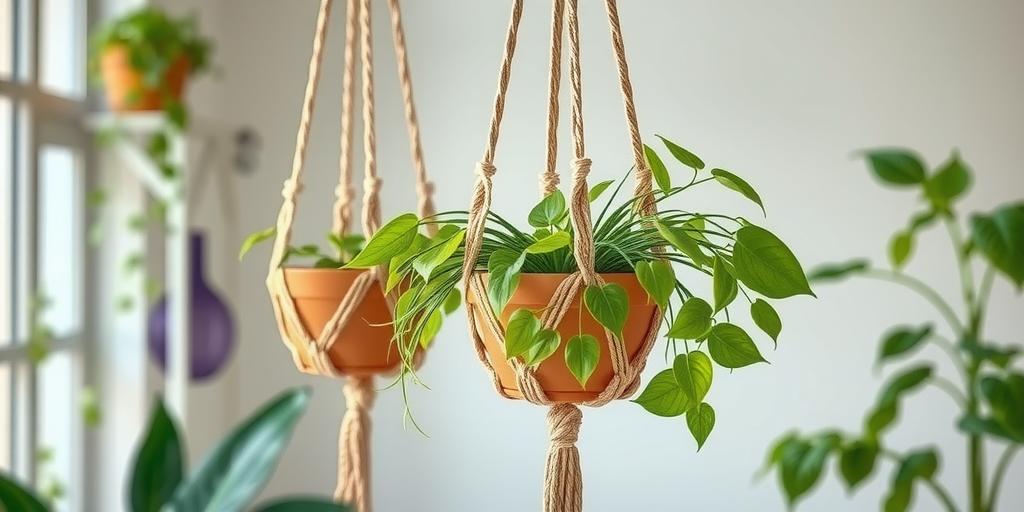
Macramé cord – A 3mm or 5mm cotton rope works best for plant hangers. It’s sturdy, easy to knot, and holds its shape well.
-
Scissors – Sharp scissors ensure clean cuts, preventing frayed ends that can make knotting messy.
-
Wooden or metal ring – This serves as the anchor point for your hanger. A wooden ring adds a natural touch, while metal offers durability.
-
Tape measure or ruler – Consistency is key in macramé, so measuring your cords accurately helps maintain symmetry.
-
Plant pot – Choose a lightweight pot that fits your low-light plant. Ceramic or plastic works well.
-
Optional: Beads or decorative accents – Personalize your hanger with wooden beads, shells, or tassels for extra flair.
Having everything ready before you start will make the process smoother and more enjoyable.
Best Low Light Plants for Macramé Hangers
Not all plants thrive in low light, but these resilient varieties are perfect for hanging displays:
Snake Plant (Sansevieria)
This hardy plant is nearly indestructible. It tolerates low light, infrequent watering, and even neglect. Its upright leaves add a striking architectural element to your macramé hanger.
Pothos (Epipremnum aureum)
Pothos is a classic choice for hanging planters. Its trailing vines grow quickly, even in indirect light, and it’s forgiving if you forget to water it now and then.
ZZ Plant (Zamioculcas zamiifolia)
If you’re a beginner, the ZZ plant is ideal. It thrives in low light and stores water in its rhizomes, meaning it can go weeks without watering.
Philodendron Heartleaf
With its heart-shaped leaves and cascading vines, this plant is perfect for macramé hangers. It adapts well to low light and grows steadily with minimal care.
These plants not only survive but thrive in less-than-ideal lighting, making them excellent choices for indoor hanging displays.
Step-by-Step Macramé Knotting Guide
Creating a macramé plant hanger involves a few basic knots. Follow these steps for a sturdy and stylish result.
1. Measuring and Cutting the Cord
Start by cutting 4-6 cords, each 8-10 feet long, depending on how low you want your hanger to hang. Fold each cord in half and attach them to the ring using a lark’s head knot. To do this:
-
Loop the folded end over the ring.
-
Pull the loose ends through the loop and tighten.
This creates a secure anchor point for your hanger.
2. Creating the Body with Square Knots
Divide the cords into groups of four. Each group will form a section of the hanger using square knots:
-
Take the left cord and cross it over the two middle cords.
-
Bring the right cord over the left cord, then under the middle cords and up through the loop on the left.
-
Pull tight to form the knot.
Repeat this pattern down the length of the cords, spacing the knots evenly for a uniform look.
3. Adding a Secure Holder for the Pot
Once you’ve knotted the body, adjust the spacing to create a diamond or net pattern at the base. This will cradle your plant pot securely.
-
Separate the cords into pairs and tie knots to form a stable base.
-
Test the fit with your pot—it should sit snugly without slipping through.
4. Finishing with a Decorative Fringe
Trim any excess cord for a clean finish. If you’d like extra embellishment:
-
Slide beads onto the loose ends before knotting them.
-
Braid the ends or add tassels for a boho touch.
Caring for Your Macramé Hanger and Low Light Plants
Once your hanger is complete, proper care ensures it stays beautiful and your plants stay healthy.
Dust Your Hanger Occasionally
Macramé can collect dust over time. Gently shake it out or use a soft brush to keep it looking fresh.
Water Plants Carefully
Avoid overwatering, as dripping water can stain or weaken the cords. Place a saucer under the pot or take the plant down for watering.
Rotate Plants Occasionally
Low-light plants tend to grow toward light sources. Rotate them every few weeks to promote even growth and prevent leaning.
By following these steps, you’ll create a stunning macramé plant hanger that showcases your favorite low-light plants while adding a touch of handmade charm to your space.
Conclusion
Now that you’ve mastered the art of macramé plant hangers, it’s time to showcase your creation! Whether you hang it near a dimly lit window or in a cozy corner, your low-light plants will thrive in style. Ready to make more? Try experimenting with different knot patterns or plant combinations. Share your DIY macramé hanger with us—we’d love to see your designs!