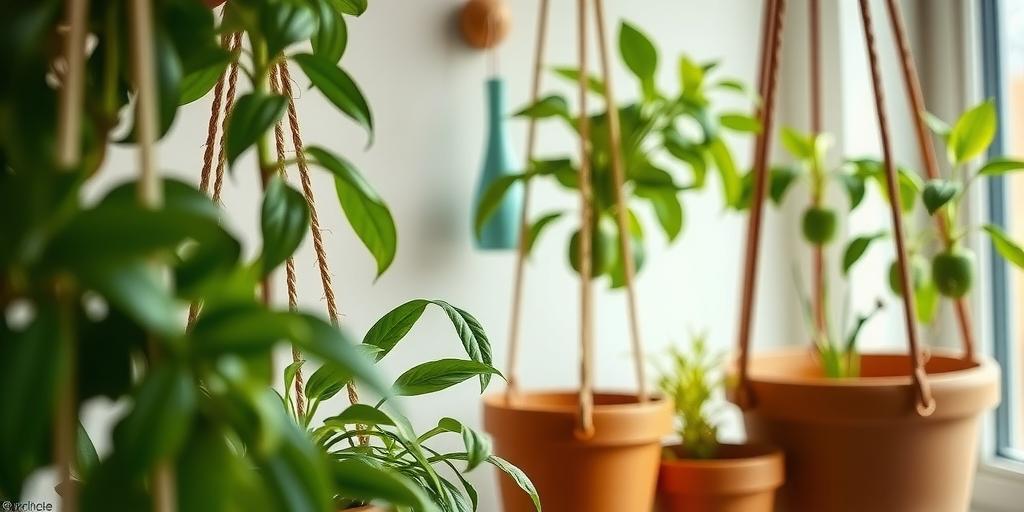
Propagation Tips for Low Light Hanging Plants: A Complete Guide
Discover the best propagation tips for low light hanging plants! Learn how to multiply your favorite trailing plants with easy methods, ideal conditions, and expert care advice.
Introduction
Did you know that some of the most popular houseplants thrive in low light and can be easily propagated? Whether you’re a beginner or a seasoned plant parent, propagating low light hanging plants is a rewarding way to expand your indoor jungle—without needing a sunny windowsill! From pothos to philodendrons, these resilient plants can grow new roots in water, soil, or even air. In this guide, we’ll walk you through the best techniques, common mistakes to avoid, and how to keep your cuttings thriving. Let’s dive in!
Best Low Light Hanging Plants for Propagation
If you’re looking for easy-to-propagate hanging plants that thrive in low light, you can’t go wrong with Pothos, Philodendron, or Spider Plants. These trailing beauties are not only forgiving in dim conditions but also root quickly, making them perfect for beginners.
Why These Plants Are Ideal for Beginners
Pothos and Philodendrons are practically foolproof—they grow roots even in water alone. Spider Plants produce “pups” (baby plants) that can be snipped off and potted independently. These plants adapt well to lower light, meaning you don’t need a sunny windowsill to succeed.
Signs Your Plant Is Ready for Propagation
Look for long, healthy vines with multiple nodes (the little bumps where leaves and roots grow). If your Spider Plant has dangling offsets with tiny roots, it’s ready to be separated. A mature, pest-free parent plant will give you the best chance of success.
Essential Tools for Propagating Hanging Plants
Before you start snipping, gather the right supplies to ensure healthy propagation.
Must-Have Supplies
-
Sharp scissors or pruning shears – Clean cuts prevent damage and disease.
-
Clean jars or containers – Glass works best for water propagation.
-
Rooting hormone (optional) – Helps speed up root growth, especially for stubborn plants.
Choosing the Right Potting Mix
For low-light conditions, use a well-draining mix with perlite or vermiculite to prevent soggy roots. A blend of potting soil and orchid bark works well for Philodendrons and Pothos.
The Role of Humidity in Successful Propagation
Many tropical plants root faster in high humidity. If your home is dry, cover cuttings with a plastic bag or use a propagation box to trap moisture. Just ensure there’s airflow to prevent mold.
Step-by-Step Propagation Methods
Different plants respond better to certain techniques. Here’s how to propagate using the most common methods.
Water Propagation: How to Root Cuttings in Water
-
Cut a 4-6 inch stem just below a node.
-
Place it in a jar of water, ensuring no leaves are submerged.
-
Change the water weekly to prevent bacteria.
-
Roots should appear in 2-4 weeks—transplant once they’re 1-2 inches long.
Soil Propagation: Best Practices for Direct Planting
-
Dip the cut end in rooting hormone (optional).
-
Plant in moist soil, burying at least one node.
-
Keep the soil lightly damp (not soggy) and cover with a plastic bag for humidity.
-
Roots typically form in 3-6 weeks.
Air Layering: Advanced Technique for Stubborn Plants
This method works well for thick-stemmed plants like Monsteras:
-
Make a small cut in a healthy stem and wrap it in damp sphagnum moss.
-
Cover with plastic and secure with twine.
-
Once roots form inside the moss (usually 4-8 weeks), cut below the new roots and pot.
How Long Each Method Takes & When to Transplant
-
Water: Fastest (2-4 weeks), but roots are more delicate when moving to soil.
-
Soil: Slower (3-6 weeks), but avoids transplant shock.
-
Air layering: Best for difficult plants but takes the longest.
Optimal Conditions for Root Growth
Creating the right environment ensures your cuttings thrive.
Ideal Temperature and Humidity Levels
-
Temperature: 65-75°F (18-24°C) is ideal.
-
Humidity: 60-80% encourages faster rooting. Use a humidifier or pebble tray if needed.
How Much Indirect Light Propagated Cuttings Need
Bright, indirect light is best—direct sun can scorch tender cuttings. A north-facing window or shaded spot works well.
Signs of Healthy vs. Unhealthy Roots
-
Healthy: White or light-colored, firm roots.
-
Unhealthy: Brown, mushy, or foul-smelling (indicating rot).
Common Propagation Mistakes to Avoid
Even easy plants can fail if these pitfalls aren’t avoided.
Overwatering or Underwatering Cuttings
-
Soil cuttings should stay lightly moist—not soaked.
-
Water cuttings need fresh water weekly to prevent stagnation.
Using Unhealthy Parent Plants
Sick or pest-infested plants produce weak cuttings. Always start with vigorous, disease-free stems.
Ignoring Pests and Diseases During Propagation
Check cuttings regularly for spider mites, fungus gnats, or mold. Isolate affected plants immediately.
Caring for Newly Propagated Plants
Once your cuttings have roots, they need proper care to grow strong.
When and How to Transplant Rooted Cuttings
-
Water-propagated plants: Transition to soil when roots are 1-2 inches long. Keep the soil extra moist for the first week to help adjustment.
-
Soil-propagated plants: Wait until new growth appears before repotting.
Fertilizing Tips for Young Plants
Hold off on fertilizer for 4-6 weeks to avoid burning tender roots. Then, use a diluted liquid fertilizer every month during growing season.
Training Vines for a Fuller, Bushier Appearance
To prevent leggy growth, pinch back tips to encourage branching. For hanging plants, loop long vines back into the pot to root and create density.
Conclusion
Propagating low light hanging plants is an easy and cost-effective way to grow your plant collection! With the right techniques and a little patience, you can turn a single vine into multiple lush, trailing beauties. Ready to get started? Grab your scissors, pick your favorite plant, and give propagation a try—you’ll be amazed at how quickly your cuttings take root. Happy planting!
