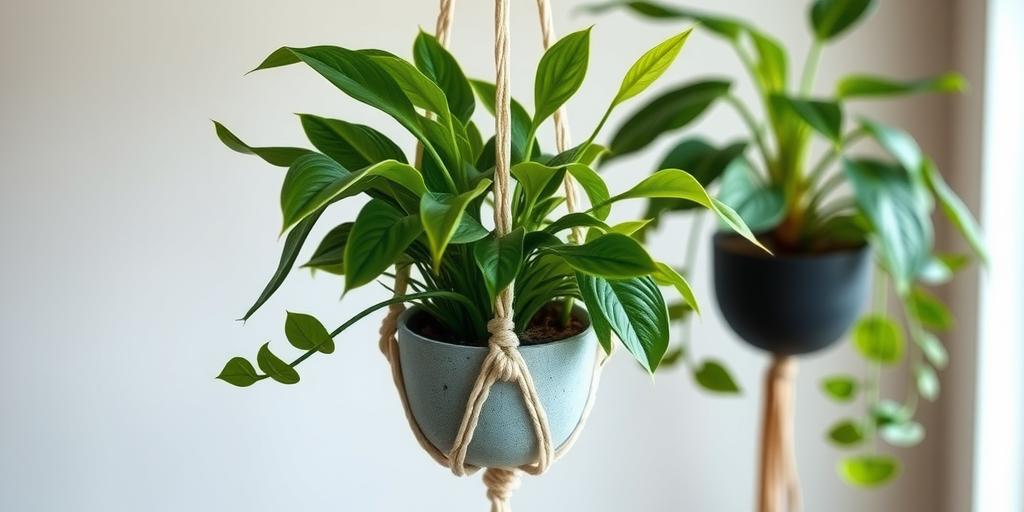
DIY Macrame Plant Hanger Tutorial for Low Light Hanging Plants
Learn how to make a stunning DIY macrame plant hanger perfect for low-light hanging plants! Step-by-step guide, material list, and care tips included. Bring boho charm to your space!
Introduction
Did you know that low-light plants like pothos, spider plants, and philodendrons thrive in hanging planters? Not only do they purify the air, but they also add a touch of greenery to any corner—even those with minimal sunlight! If you’re looking for a creative way to display your favorite shade-loving plants, this DIY macrame plant hanger tutorial is for you. Macrame is an easy, budget-friendly craft that adds bohemian flair to your home decor. In this guide, we’ll walk you through everything you need—from materials to knot techniques—so you can create a beautiful, functional hanger for your low-light plants. Let’s get crafting!
Materials You’ll Need for Your Macrame Plant Hanger
Before diving into your macrame project, it’s essential to gather the right supplies. Here’s what you’ll need:
-
Macrame cord (3mm or 4mm thickness for durability): A thicker cord ensures your plant hanger can support the weight of the pot without fraying. Cotton or jute cords are great choices for a natural look.
-
Scissors (sharp for clean cuts): A clean cut prevents frayed ends and keeps your knots looking neat.
-
Wooden or metal ring (for the top loop): This serves as the anchor for your hanger. A wooden ring adds a rustic touch, while a metal one offers sleek durability.
-
Tape measure or ruler (for consistent lengths): Measuring your cords accurately ensures symmetry in your design.
-
Plant pot (small to medium size, lightweight): Opt for a pot that won’t strain your hanger. Ceramic or plastic works well.
-
Optional: Beads, dyed cords, or decorative accents: Personalize your hanger with wooden beads, colored threads, or even small charms for extra flair.
Having everything ready before you start will make the process smoother and more enjoyable.
Best Low-Light Plants for Hanging Macrame Planters
Not all plants thrive in low-light conditions, but these hardy varieties are perfect for indoor macrame hangers:
-
Pothos (Epipremnum aureum): This trailing vine is nearly foolproof—it thrives in shade and bounces back even if you forget to water it occasionally.
-
Spider Plant (Chlorophytum comosum): Known for its air-purifying qualities, this plant tolerates low light and produces adorable baby “spiderettes.”
-
Philodendron (Heartleaf variety): Fast-growing and adaptable, the heartleaf philodendron adds lush greenery with minimal effort.
-
ZZ Plant (Zamioculcas zamiifolia): If you want a plant that’s practically indestructible, the ZZ plant survives in dim corners with infrequent watering.
-
Peperomia: Compact and slow-growing, peperomias are ideal for smaller hangers and come in a variety of leaf textures.
These plants not only survive but thrive in indirect light, making them perfect for hanging near windows or in cozy corners.
Step-by-Step Macrame Knotting Tutorial
Ready to start knotting? Follow these steps to create a beautiful macrame plant hanger.
1. Measuring and Cutting the Cord
First, decide how long you want your hanger to be. For a standard small-to-medium pot:
-
Cut 4-6 cords, each 8-10 feet long. The exact length depends on how low you want the hanger to sit.
-
Fold each cord in half and attach them to the ring using a lark’s head knot. To do this:
-
Loop the folded end over the ring.
-
Pull the loose ends through the loop and tighten.
-
This creates the foundation for your hanger.
2. Creating the Base Knots
Now, it’s time to form the body of the hanger:
-
Separate the cords into groups of 4.
-
Tie square knots by crossing the left cord over the middle two, then the right cord over the left. Pull tight and repeat for a neat pattern.
-
Continue knotting for 4-6 inches, adjusting based on how long you want the hanger’s neck to be.
This section gives structure and visual appeal to your design.
3. Forming the Plant Holder
Once you’ve reached your desired length, gather all the cords to secure the pot:
-
Tie a gathering knot (a simple overhand knot works) to create a cradle for the pot.
-
Place your pot inside to test the fit—adjust the knot if needed.
-
Trim any excess cord and fluff out the ends for a polished finish.
This step ensures your pot sits snugly while the cords fan out elegantly.
4. Optional Embellishments
Want to add a personal touch? Here are some ideas:
-
Slide wooden beads onto the cords before tying the final knot for a boho vibe.
-
Use dyed cords in contrasting colors for a vibrant look.
-
Attach small tassels or charms to the ends for extra texture.
These little details can make your hanger truly unique.
Caring for Your Low-Light Hanging Plants
Now that your macrame hanger is complete, here’s how to keep your plant healthy:
-
Watering: Most low-light plants prefer drying out between waterings. Check the soil weekly—stick your finger in; if the top inch is dry, it’s time to water.
-
Cleaning: Dust can block sunlight. Wipe leaves gently with a damp cloth every few weeks.
-
Rotating: Turn the pot occasionally to ensure even growth, especially if one side gets more light.
-
Avoid Overcrowding: Give your plant space for air circulation to prevent mold or pests.
With proper care, your macrame hanger and plant will thrive together, adding life and style to your space.
Now, grab your supplies and get knotting—your perfect plant hanger awaits!
Conclusion
Now that you’ve mastered this DIY macrame plant hanger, your low-light plants will have a stylish new home! Whether you hang it near a window or in a dim corner, this handmade piece adds warmth and greenery to any space. Ready to try it? Gather your supplies, pick your favorite low-light plant, and start knotting! Share your creations with us—we’d love to see your boho-inspired designs.
