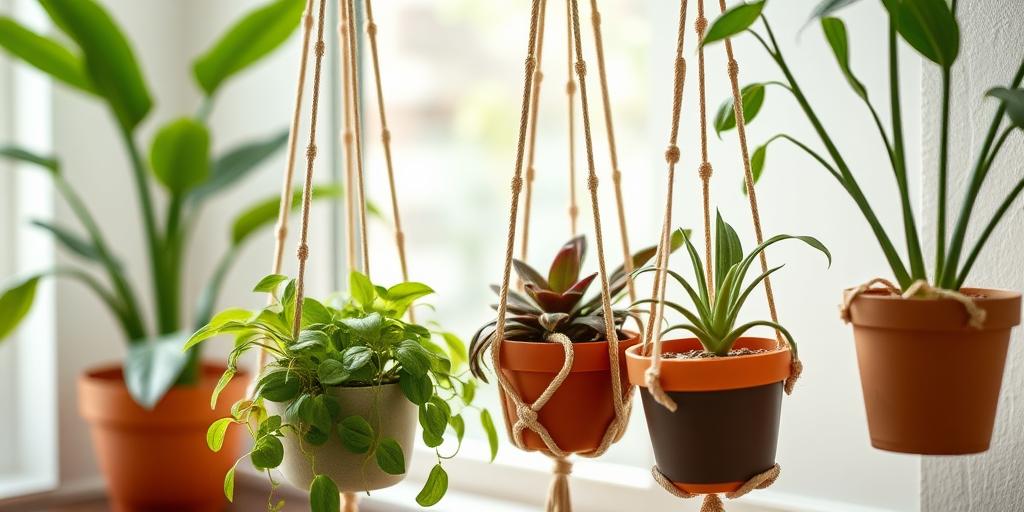
DIY Macrame Plant Hanger for Low Light Plants: A Step-by-Step Guide
Learn how to make a stunning DIY macrame plant hanger perfect for low-light plants! This easy step-by-step guide includes materials, knots, and care tips to elevate your indoor greenery.
Introduction
Did you know that low-light plants like pothos and snake plants thrive even in dim corners? But why settle for boring pots when you can showcase them in a beautiful handmade macrame hanger? Macrame isn’t just a trend—it’s a timeless craft that adds bohemian charm to any space. In this guide, we’ll walk you through creating your own macrame plant hanger, tailored for low-light-loving greenery. No prior experience? No problem! Grab your cords, and let’s get knotting!
Materials You’ll Need for Your Macrame Plant Hanger
Before diving into your macrame project, gather all the necessary supplies. Here’s what you’ll need:
-
Macrame cord – A 3mm or 4mm cotton rope is ideal because it’s sturdy yet flexible enough for intricate knots.
-
Scissors – Sharp fabric scissors ensure clean cuts, preventing frayed ends.
-
Wooden or metal ring – This serves as the anchor at the top of your hanger. A 2- to 3-inch diameter works well.
-
Tape measure or ruler – Precision is key when cutting cords to the right length.
-
Plant pot – Choose one that fits your low-light plant snugly. Make sure it has drainage holes.
-
Optional: Beads or decorative accents – If you want to add a personal touch, wooden beads or metallic charms can elevate your design.
Having everything ready before you start will make the process smoother and more enjoyable.
Best Low Light Plants for Macrame Hangers
Not all plants thrive in low-light conditions, so picking the right one is crucial. Here are some top choices that will flourish in your macrame hanger:
-
Snake Plant (Sansevieria) – This hardy plant is nearly indestructible. It thrives in indirect light and only needs watering every few weeks.
-
Pothos (Epipremnum aureum) – Known for its trailing vines, pothos grows well in low to moderate light and is forgiving if you forget to water it occasionally.
-
ZZ Plant (Zamioculcas zamiifolia) – A great option for beginners, the ZZ plant tolerates low light and can go weeks without water.
-
Peace Lily (Spathiphyllum) – If you want a touch of elegance, this plant produces beautiful white blooms and prefers shady spots.
-
Philodendron Heartleaf – With its heart-shaped leaves, this plant adapts well to low-light conditions and grows quickly.
These plants not only survive but thrive in less-than-ideal lighting, making them perfect for macrame hangers in dimmer spaces.
Step-by-Step Macrame Knotting Guide
Ready to start knotting? Follow these steps to create a beautiful macrame plant hanger:
Step 1: Measure & Cut the Cords
For a standard hanger, you’ll need 4 to 6 strands, each 8 to 10 feet long. Double the length if you want a longer hanger or more intricate knots. Use a tape measure to ensure accuracy before cutting.
Step 2: Secure the Cords to the Ring
Fold each cord in half and attach them to the ring using a Lark’s Head Knot. To do this:
-
Loop the folded end over the ring.
-
Pull the loose ends through the loop and tighten.
Repeat until all cords are evenly spaced around the ring.
Step 3: Create the Body
Now, it’s time to form the body of the hanger. You can use:
-
Square Knots – A classic choice that creates a flat, woven look.
-
Spiral Knots – These give a twisted, textured effect.
Work downward, leaving enough space between knots to accommodate your plant pot.
Step 4: Form the Basket
To hold the pot, create a basket using alternating square knots:
-
Group cords into sets of four.
-
Tie a square knot with each set, leaving a gap below for the pot to sit.
-
Continue until the basket is wide enough to cradle your pot securely.
Step 5: Finish with a Tassel or Fringe
For a decorative touch, trim the ends evenly or braid them into a tassel. You can also add beads before knotting the ends for extra flair.
Tips for Hanging & Maintaining Your Macrame Plant Hanger
Once your hanger is complete, follow these tips to keep it and your plant in great condition:
-
Choose the right spot – Avoid direct sunlight, which can fade the cords over time. A bright, indirect light location is ideal.
-
Check weight limits – Ensure your hook or nail can support the combined weight of the hanger and the plant. Reinforce if necessary.
-
Clean gently – Dust can accumulate on the cords. Wipe them down occasionally with a damp cloth to keep them looking fresh.
-
Rotate plants – Even low-light plants benefit from occasional rotation to ensure even growth.
With these steps and tips, your macrame plant hanger will be both functional and stylish, adding a touch of greenery to any space.
Conclusion
Now that you’ve mastered the art of making a DIY macrame plant hanger, it’s time to let your creativity shine! Whether you’re decorating a cozy apartment or adding greenery to your office, this project is a perfect blend of function and style. Share your creations with us—we’d love to see how you style your macrame hangers with low-light plants! Ready for your next craft? Try experimenting with colored cords or mixed knot patterns for a unique twist. Happy knotting!
