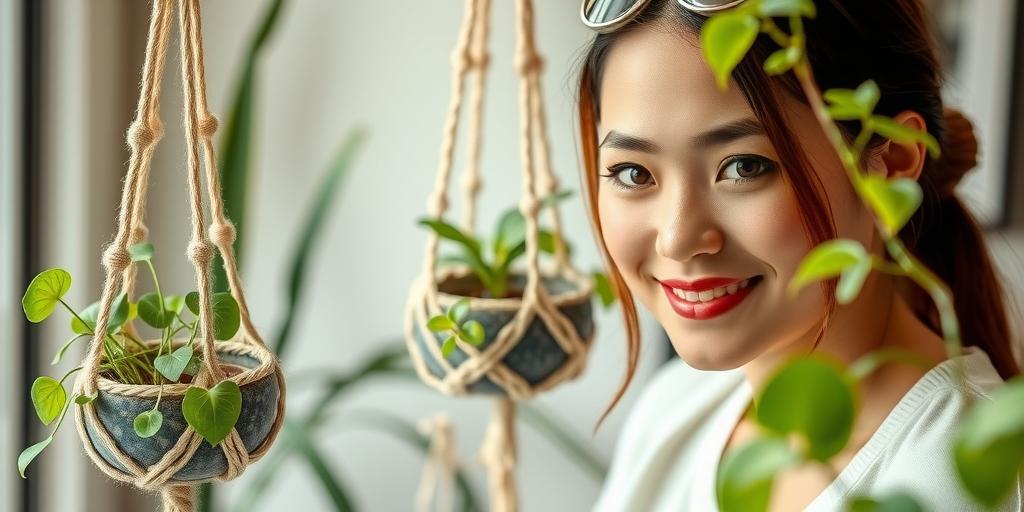
DIY Macrame Hanging Plant Tutorial: Step-by-Step Guide for Beginners
Learn how to create a stunning DIY macrame hanging plant holder with this easy step-by-step tutorial! Perfect for beginners, this guide covers essential knots, materials, and styling tips to elevate your home decor.
Introduction
Did you know that adding hanging plants to your space can boost mood and purify the air? Macrame plant hangers are not only functional but also a beautiful way to display your greenery! Whether you’re a complete beginner or looking to refine your knotting skills, this DIY macrame hanging plant tutorial will walk you through everything you need—from choosing the right cord to mastering essential knots. Let’s get crafting!
Materials Needed for Your Macrame Plant Hanger
First things first—let’s gather everything you’ll need before diving into your macrame project.
Macrame cord – A 3mm or 4mm cotton rope is ideal for plant hangers. It’s sturdy enough to hold weight but still easy to work with. If you want a chunkier look, go for 5mm, but avoid anything too thin—it might not support your plant pot securely.
Scissors – Sharp ones! Clean cuts prevent fraying and give your hanger a polished finish.
Wooden or metal ring – This will be the anchor point for your hanger. A wooden ring gives a natural, boho vibe, while a metal one feels more modern.
Tape measure or ruler – Precision matters in macrame. Measuring your cords before cutting saves you from running short mid-project.
Plant pot – Small to medium-sized pots work best. Make sure it’s lightweight—ceramic or plastic is ideal.
Optional extras – Want to jazz things up? Beads, feathers, or even dyed cords can add personality. These aren’t necessary, but they’re fun if you want a custom look.
Basic Macrame Knots You’ll Need to Know
Before you start knotting, let’s break down the essential knots you’ll use. Don’t worry—they’re easier than they sound!
Lark’s Head Knot – This is how you attach your cords to the ring. Fold a cord in half, loop it over the ring, then pull the ends through the loop. Simple, right?
Square Knot – The bread and butter of macrame. You’ll use this to create the main body of your hanger. It’s just two cords crossed over two others, then repeated in reverse.
Spiral Knot – A fun variation of the square knot that twists as you go, adding a playful spiral effect.
Gathering Knot – This secures the bottom of your hanger so your pot stays snug. Think of it like tying a little belt around all the cords.
Step-by-Step Macrame Hanging Plant Holder Tutorial
Now, let’s get into the actual making! Follow these steps, and you’ll have a beautiful hanger in no time.
1. Measure and Cut Your Cords
For a standard hanger, you’ll need 4 to 6 strands, each about 8 to 10 feet long. If you’re new to macrame, err on the longer side—you can always trim excess later.
2. Attach Cords to the Ring
Fold each cord in half and use the Lark’s Head Knot to secure them to the ring. Space them evenly so your hanger hangs straight.
3. Create the Body
Now, start knotting! Alternate between Square Knots or Spiral Knots to build the body. For a classic look, stick with square knots. If you want something more dynamic, try spirals.
4. Form the Basket
Once your hanger is long enough (usually 12-18 inches), separate the cords into sections to cradle the pot. Knot them in pairs to create a diamond or net-like shape that holds the pot securely.
5. Finish with a Gathering Knot
Bring all the cords together at the bottom and tie a Gathering Knot to keep them in place. Leave a few inches of fringe if you like, or trim them short for a cleaner look.
6. Trim and Fluff
Snip any uneven ends and fluff out the knots so everything looks neat. Voilà—your plant hanger is ready!
Creative Variations & Styling Tips
Want to make your hanger stand out? Here are some fun ways to customize it.
Add beads or feathers – Slide wooden beads onto the cords before knotting, or tie in feathers for a boho touch.
Experiment with colored cord – Dip-dye your cords for an ombre effect, or use multiple colors for a bold statement.
Mix knot styles – Combine square and spiral knots in the same hanger for extra texture.
Hang in clusters – Group multiple hangers at different lengths for a lush, layered display.
Common Macrame Mistakes & How to Avoid Them
Even pros make mistakes—here’s how to sidestep the most common ones.
Uneven tension – If some knots are tighter than others, your hanger will look lopsided. Keep a consistent pull as you work.
Wrong cord thickness – Too thin, and your hanger might sag. Too thick, and it’s hard to knot. Stick with 3mm-5mm for the best balance.
Skipping measurements – Guessing cord lengths often leads to frustration. Always measure before cutting!
Rushing knots – Macrame is a slow craft. Take your time with each knot to ensure they’re tight and tidy.
Now that you’ve got the basics down, the only limit is your creativity. Happy knotting!
Conclusion
Now that you’ve mastered the basics of macrame, you can create beautiful hanging plant holders to brighten up any room! Whether you’re decorating your home or crafting a heartfelt gift, this DIY project is both relaxing and rewarding. Ready to try more designs? Explore advanced knots or customize with different colors and textures—your creativity is the limit!
