DIY: Build a Stylish Hanging Plant Stand in an Afternoon
Learn how to build a stylish hanging plant stand in just one afternoon with this easy DIY guide! Perfect for small spaces, indoor jungles, or balcony gardens—transform your home with this chic and functional project.
Introduction
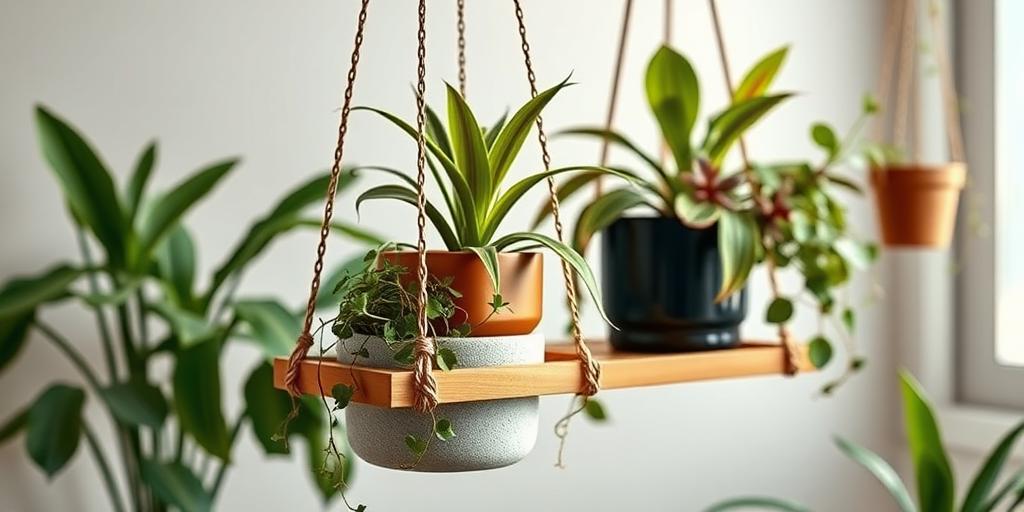
Tired of cluttered shelves or limited floor space for your beloved houseplants? A hanging plant stand is the perfect solution! Not only does it add a touch of elegance to any room, but it also maximizes vertical space—ideal for urban dwellers and plant lovers alike. Did you know that hanging plants can improve air quality and reduce stress? With just a few materials and an afternoon to spare, you can create a stunning, custom plant display. Let’s get started!
Materials & Tools You’ll Need
First things first—let’s gather everything you’ll need to create your hanging plant stand.
-
Wooden dowels or driftwood – If you love a rustic, natural look, driftwood is a great choice. For a cleaner finish, wooden dowels work perfectly.
-
Rope, macramé cord, or sturdy chains – Your choice here depends on the style you’re going for. Rope and macramé give a boho feel, while chains offer an industrial edge.
-
Measuring tape and scissors – Precision is key, especially when cutting materials to size.
-
Drill and hooks – If you’re mounting the stand from the ceiling, you’ll need hooks and a drill to secure them.
-
Sandpaper – Nobody wants splinters! Sand down rough edges for a smooth finish.
-
Optional: Wood stain or paint – Want to add a personal touch? A coat of stain or paint can make your stand match your décor perfectly.
Step-by-Step Guide to Building Your Hanging Plant Stand
Now that you’ve got your materials ready, let’s walk through the process step by step.
Step 1: Measure and Cut the Wood
Start by deciding how big you want your plant stand to be. If you’re going for a simple single-tier design, you might only need two or three dowels. For a multi-tiered stand, you’ll need more.
-
Measure the length you want for each dowel.
-
Use a saw to cut them to size.
-
Double-check your measurements before cutting—mistakes here can throw off the whole project!
Step 2: Sand and Finish
Once your wood is cut, it’s time to smooth things out.
-
Use sandpaper to remove any rough edges or splinters.
-
If you’re staining or painting, now’s the time! Apply your chosen finish and let it dry completely before moving on.
Step 3: Assemble the Frame
This is where your design starts taking shape.
-
For a simple design, arrange your dowels in a square or triangle shape.
-
Use rope or chains to connect them at the corners. Macramé knots can add extra flair if you’re going for a boho look.
-
If you’re making a tiered stand, attach additional dowels at different levels using secure knots or metal rings.
Step 4: Secure the Hanging Mechanism
Now, let’s make sure your stand stays up!
-
If using rope, tie strong knots at the top where the stand will hang.
-
For chains, attach sturdy hooks or carabiners to link them to your ceiling mount.
-
Test the stability by gently pulling on the hanging points before adding plants.
Step 5: Hang and Style Your Plants
The fun part—adding your greenery!
-
Arrange your plants in lightweight pots to avoid putting too much strain on the stand.
-
Mix different plant types for visual interest—trailing plants like pothos or ivy look amazing in hanging setups.
-
Adjust the height and spacing until you’re happy with the look.
Design Variations to Match Your Style
Not everyone wants the same look, so here are some design ideas to match your personal style.
Bohemian Macramé Hanger
If you love cozy, textured décor, this one’s for you.
-
Use thick macramé cord for a soft, woven look.
-
Add decorative knots or tassels for extra boho charm.
-
Pair with terracotta pots and leafy green plants for a natural vibe.
Minimalist Wood & Metal
For a sleek, modern aesthetic, keep it simple.
-
Use clean, straight wooden dowels.
-
Opt for thin metal chains instead of rope.
-
Stick to neutral colors—think white, black, or natural wood tones.
Tiered Multi-Level Stand
Perfect if you have a lot of plants to display.
-
Create two or three levels using longer and shorter dowels.
-
Space them out so each plant gets enough light.
-
Great for small spaces—it adds height without taking up floor space.
Tips for Maintaining Your Hanging Plant Stand
Once your stand is up, you’ll want to keep it looking great.
-
Check weight distribution – Make sure heavier plants are balanced so the stand doesn’t tip.
-
Inspect ropes or chains – Over time, they can wear out. Give them a quick check every few months.
-
Rotate plants – This ensures all sides get even sunlight, preventing lopsided growth.
-
Use lightweight pots – Ceramic pots can be heavy—opt for plastic or fiberglass to reduce strain.
And there you have it—everything you need to build, style, and maintain a beautiful hanging plant stand! Whether you go boho, minimalist, or multi-tiered, your plants will have a stylish new home.
Conclusion
Building a hanging plant stand is a fun, rewarding DIY project that instantly elevates your home decor. Whether you prefer boho-chic, modern minimalism, or rustic charm, this guide helps you create a custom piece in just one afternoon. Ready to bring your plant dreams to life? Grab your tools and start crafting!